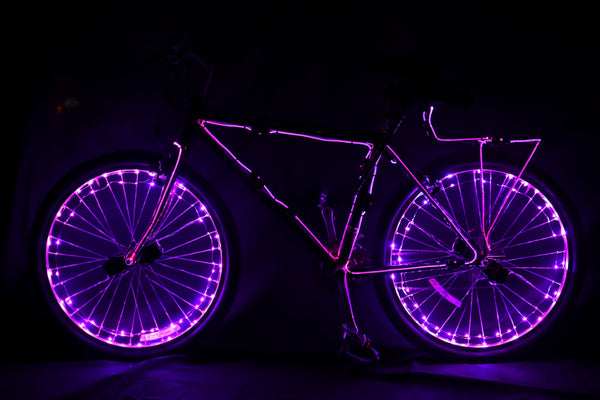
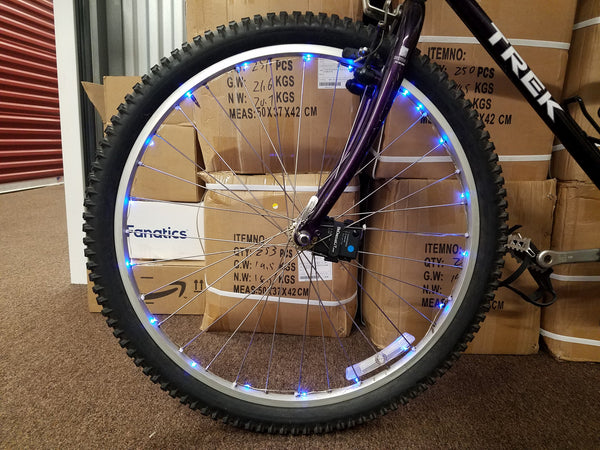
Your Cart is Empty
Installing the BeDazzleLiT lighting system will add excitement to your next night time outing. In conjunction with the installation tips, in this blog I show how to install BeDazzleLiT lights on a Bugaboo Cameleon Stroller. There are many different strollers available on the market and each have a number of ways you can install the BeDazzleLit system. Common to EVERY install is that the stroller must function as designed. Therefore you must identify the points that allow your stroller to be transported and wheels to operate . Set your stroller up and break it down a number of times to locate these points. All lights must be routed on the UNDERSIDE of these break points to allow the stroller to be transported. Routing the lights on the UPPERSIDE of the break will cause the lights to be broken the very 1st time you break down to transport.

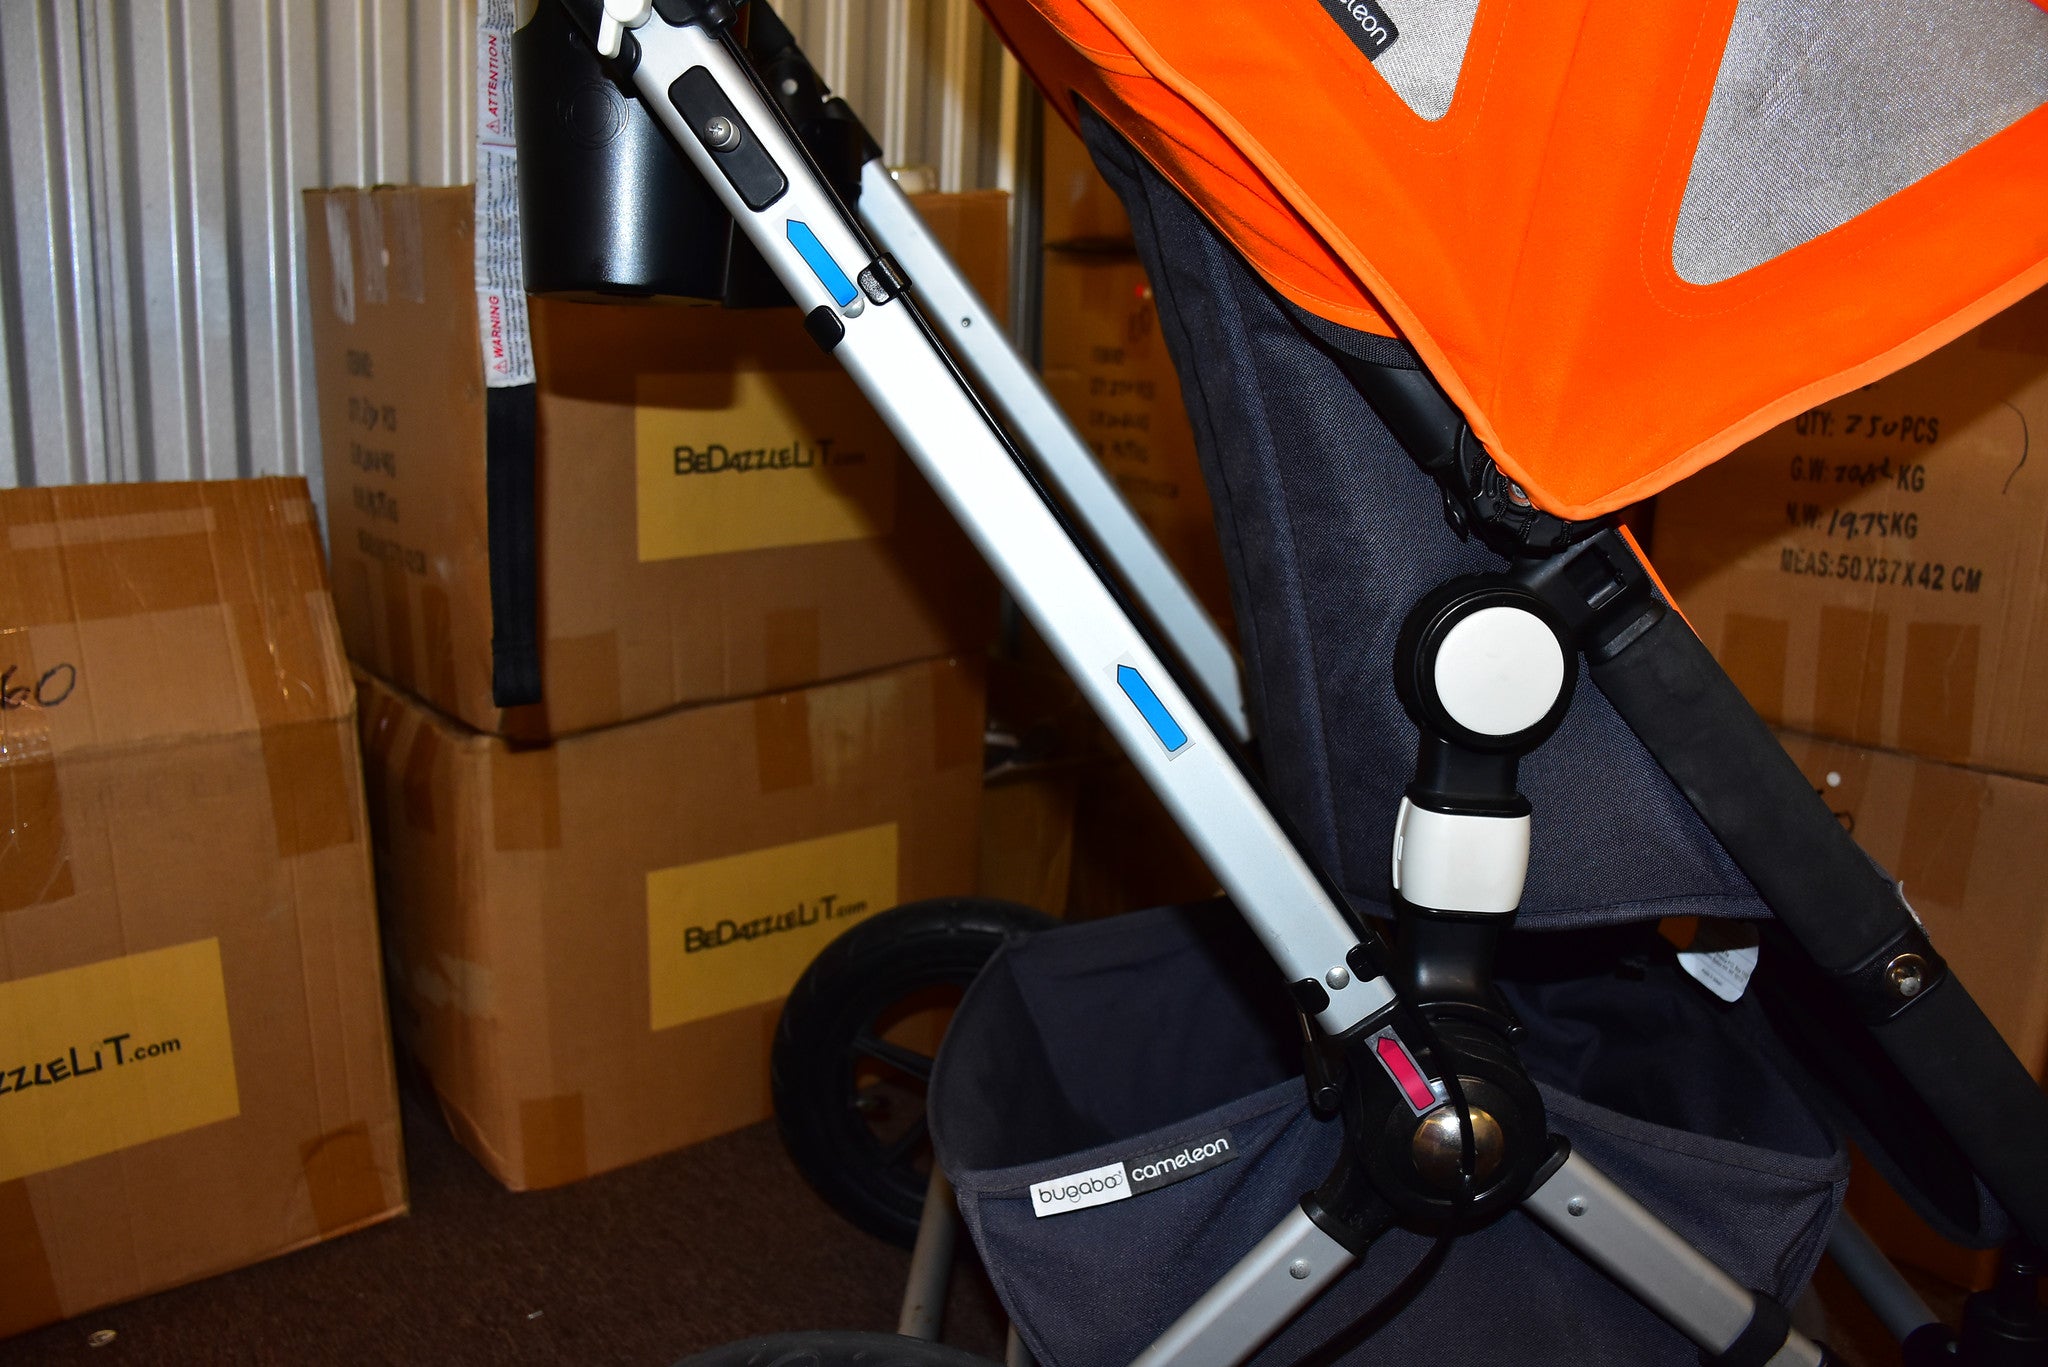
I begin the install at the RED mark using the following materials to secure the lights to the stroller; Black and Clear 8 inch tie wraps. The cutters are used to cut excess tie wrap ends.


Here I have used 3 clear tie wraps beginning at the red arrow and moving toward the blue arrows. Note that I have stopped at the handle height adjustment. I have set the height so I can route the lights around the handle; You may elect to begin where I stopped so that you can continue to use the handle. We are not growing so I set it and have not moved it in the past 8 years.

I continue around the handle using the appropriate color tie wrap to secure the lights every 6 to 8 inches. This handle is relatively flat so every 6 to 8 inches is sufficient.

I continue to route until I encounter one of those IMPORTANT BREAK POINTS. The yellow arrow tab represents the UNDERSIDE of the break and the PROPER direction to route the lights allowing DESIGN FUNCTIONALITY. Routing the lights on the UPPERSIDE of the Break (RED MARK) will cause the lights to snap when you transport the stroller.

Above represents routing the lights on the UNDERSIDE of the break as pointed out by the yellow mark.

Pictured above, I encounter a Wheel and a 90 degree turn. Notice the pink and orange arrows which identify tie wraps that secure the light to the angle without interfering with the operation of the wheel.

Here is the completed routing on the backside of this stroller. Notice that the extensions from the tie wraps have been cut off. This stroller is now partially BeDazzleLiT.

Here is this stroller in its transportable position. BeDazzleLiT lights are now an integral part of this stroller.

This stroller now has one BeDazzleLit 60 LED light strip and is ready for the seat and front sections to be BeDazzleLiT.